Cutting your own stencils is pretty easy but there are some definite tricks.
Micro Soldering Iron
Decide on the design you want, either from a drawing or photo in a magazine.
Micro Soldering Iron
Now remember that in order for a design to be cut in to a "stencil" (and we are talking single stencils here and not overlays..) You must separate the elements. For instance, the leaves must be separated from the rose, the rose petals must be separated from one another. That's very important.
Place your original picture under a piece of tracing paper. Outline each of the elements with a black marker, leaving a "bridge" (open space) between elements that touch one another.
Place your traced design under a piece of glass on a table or other hard surface such as a sturdy counter top. Any glass piece will do, even a plate of glass from a picture frame.
Use a stencil burner rather than exacto knife since you will get crisper cuts and the whole process becomes much easier. Stencil burners are inexpensive at your local craft store and make the job so quick and easy. The stencil burner resembles a soldering iron, with a comfortable handle and long metal tip that heats.
Lay the stencil burner in a dinner plate to protect the table from the heat. Plug it in to an electrical outlet to heat the tip.
Acetate or Mylar can be purchased at various websites on line, at your local craft store or art store. Tape the mylar plastic sheet to the glass.
Once the stencil burner has become hot, stand directly over the top of your design (not seated or leaning off to the side as this can give you an improper perspective and the design can become slightly "skewed" as you cut it.
Gently touch the tip of the burner to one of the lines in your drawing and simply trace the lines of the design by dragging (not pushing) the stencil burner around the design lines.
Once you have completed all lines, simply un-tape the mylar and pull it up from the glass. All of the stencil openings will stick to the glass which can later be scraped off with a simple plastic scraper or razor blade. Your new stencil is now ready for use with paints or even joint compound for raised designs.
Cutting your own designs is so easy that you will be a pro in seconds! Now you can have your own designs on your walls even in raised plaster by simply smearing joint compound over the stencil openings with a plastic scraper.
How to Cut Your Own Stencils Like a Pro
Micro Soldering Iron
Oct 24, 2011 00:29:33
Click for larger image and other views
 >> Click here to update Cheapest prices for TEKTON 7278 100-Watt Soldering Gun <<
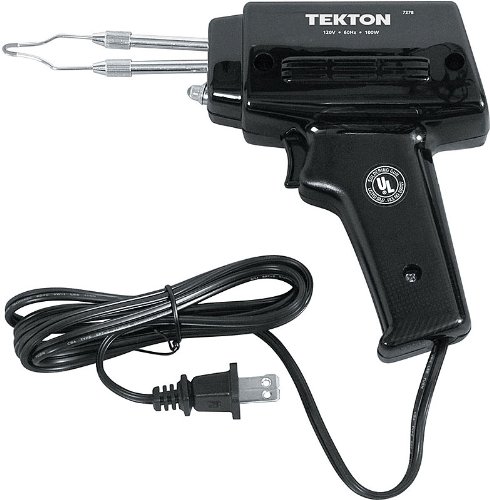
TEKTON 7278 100-Watt Soldering Gun Feature
- Insulated Polymer Body with Comfortable Pistol-Grip Handle
- Trigger Action Instantly Heats Tip
- Built-in Worklight Provides Focused Illumination
- Replaceable Nickel Plated Tips
- UL Listed
TEKTON 7278 100-Watt Soldering Gun Overview
MIT 100-WATT SOLDERING GUN features: Operates at 100-Watts using 110-120 Volts, Insulated Polymer Body with Contoured Pistol-Grip Handle for a Comfortable Hold, Trigger Provides Quick Heating Action, Powerful Built-in Work Light, Quick-Change Design Allows Tip to be Changed by Loosening Thumbscrews v No Tools Necessary, 5-1/2 Ft. Power Cord, UL Listed, Use for Electronics Repairs, Stereo Speaker Connections, Automotive Electronic Repairs, Hobbies ect.
SAVE NOW on the special offers below!
Available In Stock. |
| This TEKTON 7278 100-Watt Soldering Gun ships for FREE with Super Saver Shipping. |
|

Limited Offer Today!! TEKTON 7278 100-Watt Soldering Gun Black Friday and Cyber Monday Deals
Food Processors Optoma 3D


